Backup Custom Reports
We strongly advise customers to always backup their custom reports before performing any in-place upgrades. Failure to do so could result in the loss of your custom reports!
Prerequisites:
- The user executing these steps should be the owner of the BI for Defender workspace(s).
- A second install of BI for Defender to be used as a backup workspace. You do not need to configure the dataset parameters, this workspace is simply a place-holder to store a copy of your custom reports.

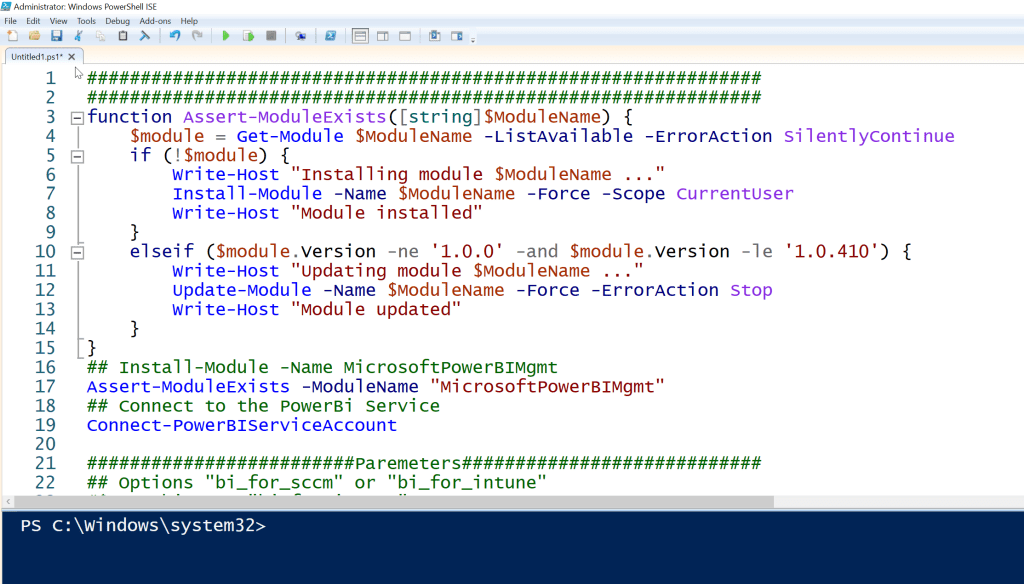
Step 1: Save the PowerShell Script
Section titled “Step 1: Save the PowerShell Script”- Copy the PowerShell code above, save it as a .ps1 file or paste it into your favorite code editor.
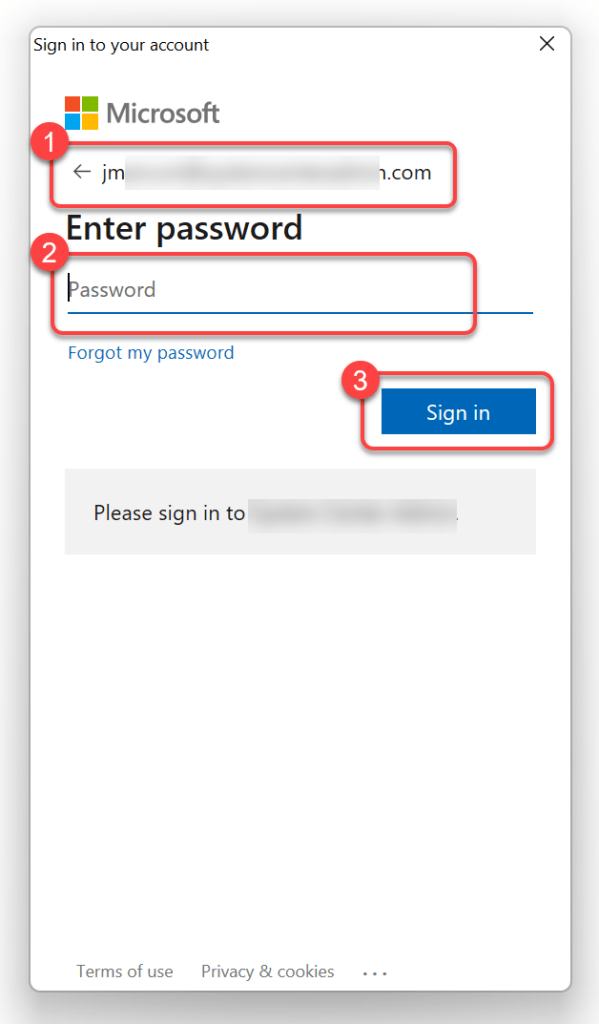
Step 2: Run the Script and Sign In
Section titled “Step 2: Run the Script and Sign In”- Execute the code in the code editor or by running the .ps1 file.
- When prompted, sign in to Power BI.
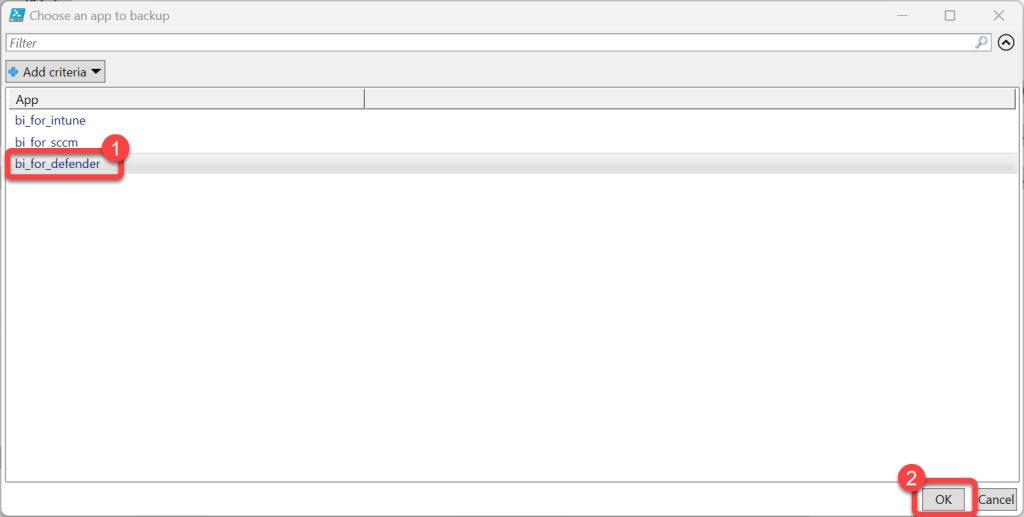
Step 3: Select the App to Backup
Section titled “Step 3: Select the App to Backup”- When prompted, select the app you would like to backup (BI for Defender)
- Select OK.
 v*
v*
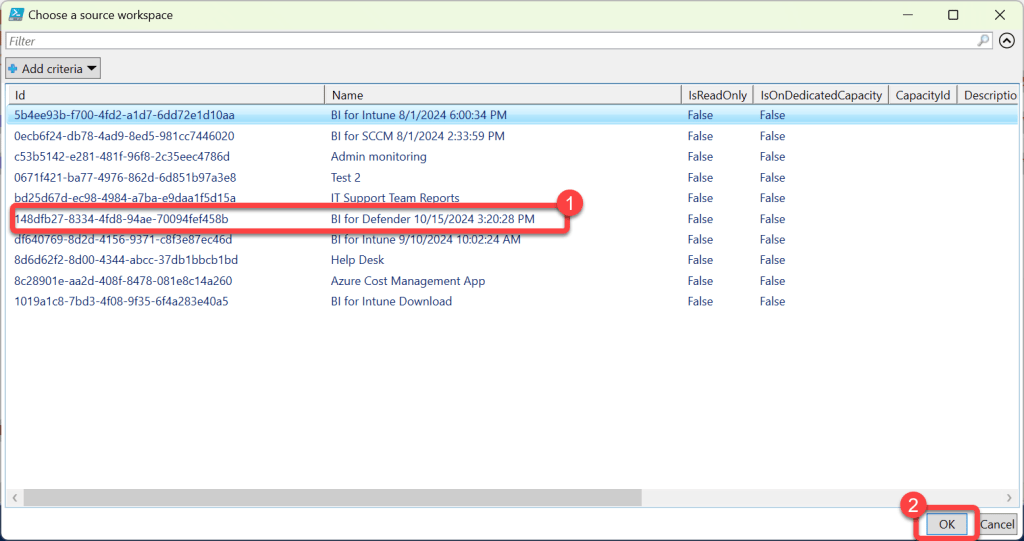
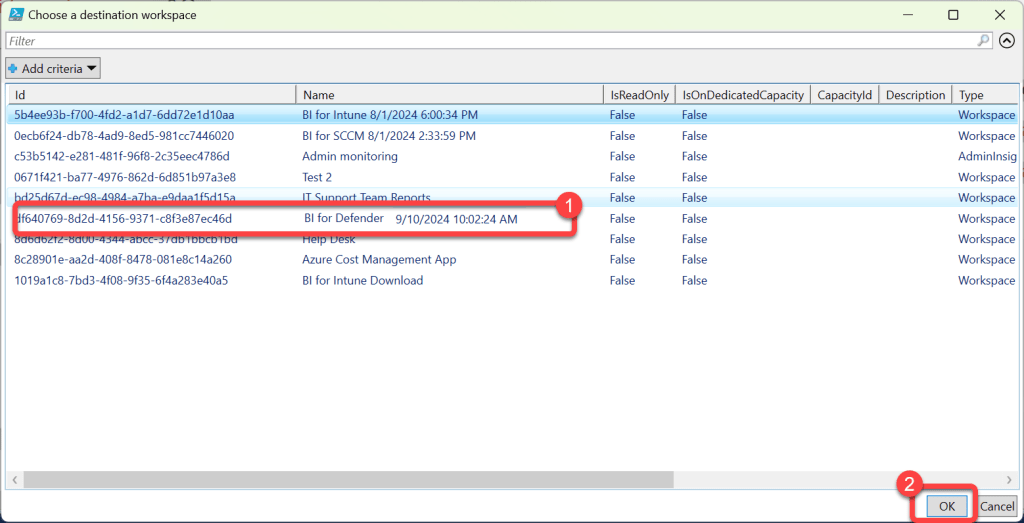
Step 4: Select the Production Workspace
Section titled “Step 4: Select the Production Workspace”- When prompted, select your production BI for Defender workspace. This is the source from which reports will be copied.
- Select OK.
Step 5: Select the Backup Workspace
Section titled “Step 5: Select the Backup Workspace”- When prompted, select your backup BI for Defender workspace. This is the destination which reports will be copied to.
- Select OK.
Step 6: Verify the Backup Output
Section titled “Step 6: Verify the Backup Output”- When running in a shell you should see output describing what was copied to the backup workspace.
- Log in to the backup workspace to confirm that your custom reports have been copied there.
