Add the Production Redirect URI
Before anyone can sign in to the portal, the App Store app registration needs to know which URL the user will be redirected to after authentication. The App Service URL is generated during deploy and is shown in the deployment outputs.
Find the App Service URL
Section titled “Find the App Service URL”If you captured the appUrl value from the deployment outputs during Deploy to Azure, use that. It looks like https://<sitename>.azurewebsites.net.
If you didn’t capture it, retrieve it now:
- Go to Azure Portal > your resource group > Deployments.
- Select the deployment that just completed.
- Select Outputs in the left navigation.
- Copy the value of appUrl.
Or, from the App Service directly: Azure Portal > App Service > your App Store App Service > Overview > Default domain.
Add the redirect URI
Section titled “Add the redirect URI”-
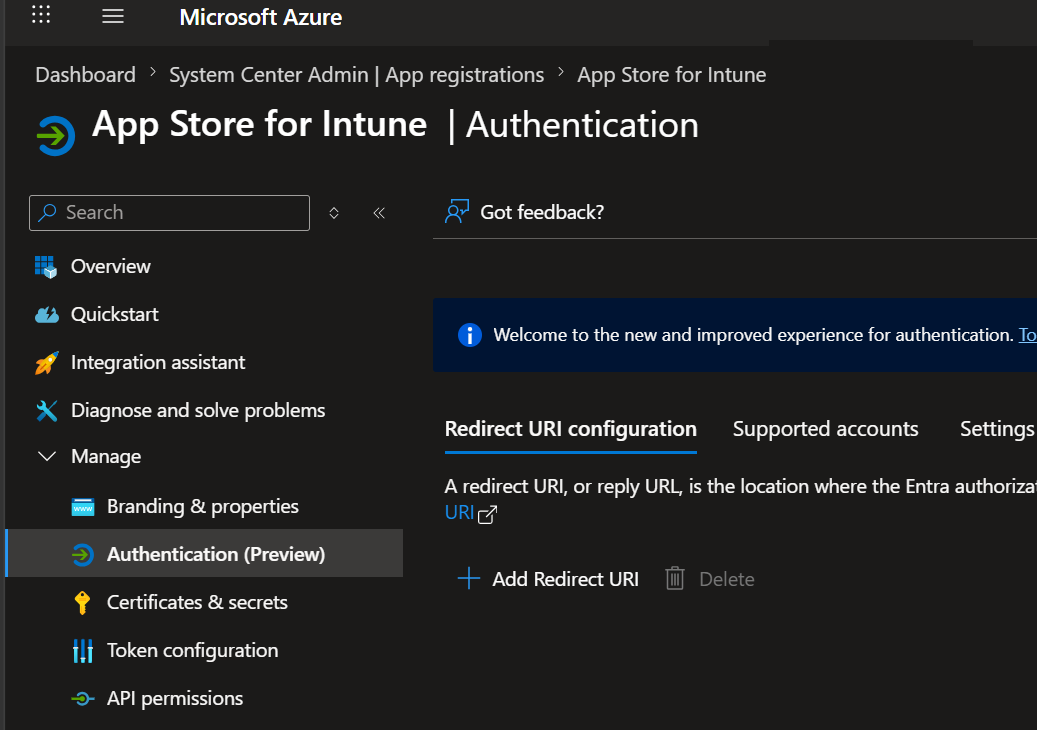
Go to Microsoft Entra admin center > App registrations.
-
Select your App Store app registration.
-
Select Authentication (Preview) in the left navigation. Some tenants may still show this as just Authentication during Microsoft’s rollout, both paths reach the same configuration.
-
Select + Add Redirect URI.
-
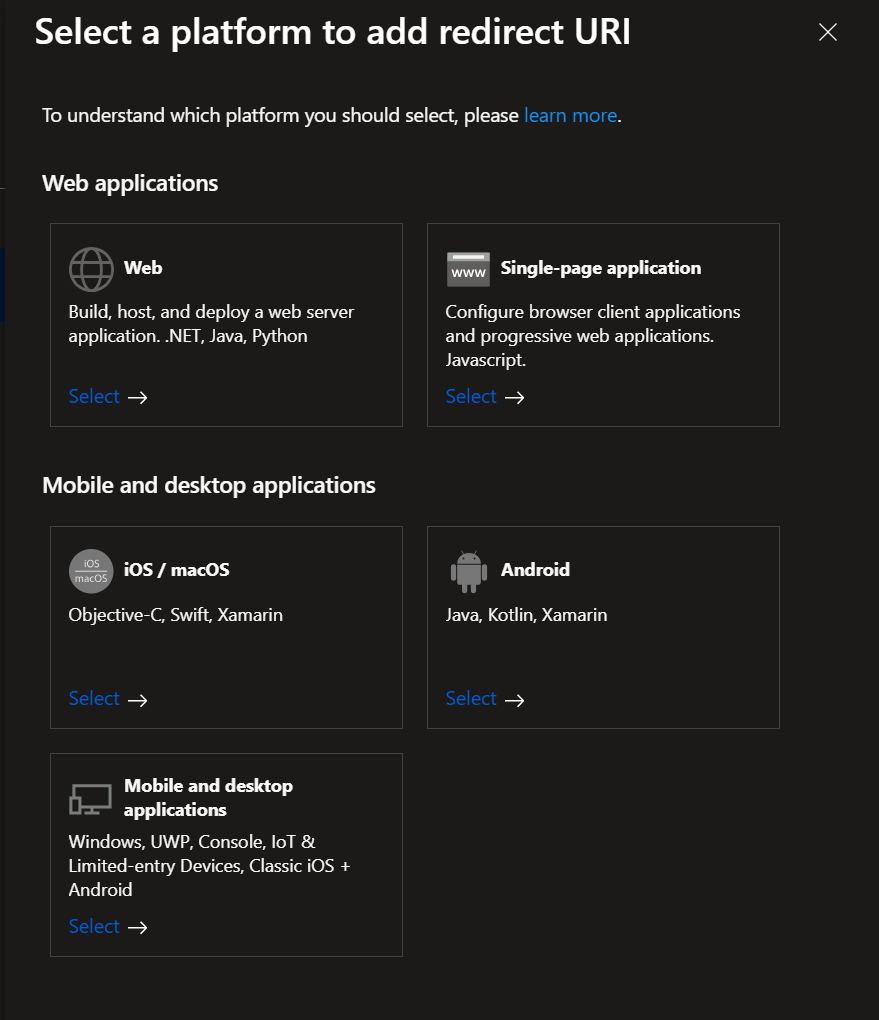
In the Select a platform to add redirect URI dialog, select Single-page application.
-
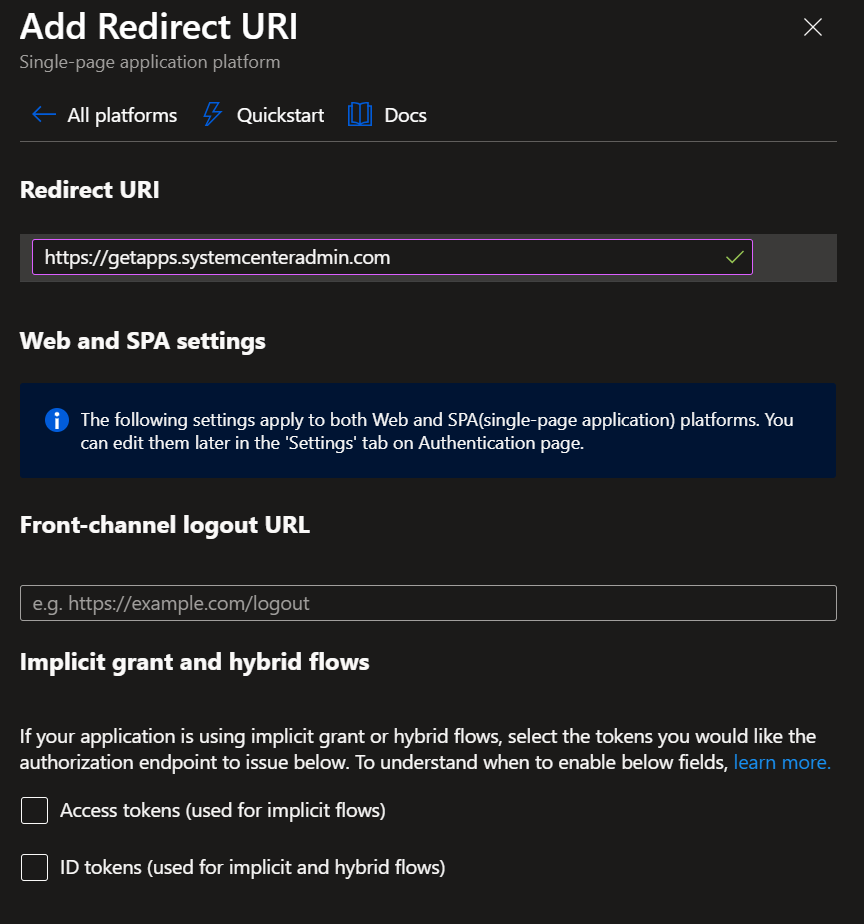
In the Add Redirect URI dialog, fill in:
- Redirect URI: your App Service URL or custom domain URL, with no trailing slash and no path. For example:
https://<sitename>.azurewebsites.netorhttps://apps.yourdomain.com. - Front-channel logout URL: leave blank.
- Implicit grant and hybrid flows: leave both Access tokens and ID tokens checkboxes unchecked. The App Store frontend uses MSAL.js v2 with the Authorization Code + PKCE flow, which doesn’t need either of those legacy tokens.
- Redirect URI: your App Service URL or custom domain URL, with no trailing slash and no path. For example:
-
Select Save at the bottom of the dialog.
Next step
Section titled “Next step”Continue to Sign in and verify.